Hugo 是由 Go 语言实现的静态网站生成器,简单、易用、高效、易扩展、快速部署。Hugo 只有一个二进制文件,可以将你写好的 MarkDown 格式的文章自动转换为静态的网页,而且生成效率高。Hugo内置 Web 服务器,可以方便的用于本地调试。
如果平时习惯使用 Makedown 编写文章,相比于 WordPress 还需要在发布前手动调整格式,直接使用 Makedown 的 Hugo 是一个更好的选择,可以节省调整格式等花费的时间,这也是博主将个人博客从 WordPress 迁移到 Hugo 的初衷。本文记录本站部署 Hugo 的详细步骤。
1、安装 Hugo
MacOS 下可以使用 Homebrew 安装 Hugo,如果没有安装 Homebrew,阅读 MacOS软件管理工具Homebrew的安装和使用:
ityoudao:~ wxy$ brew install hugo
ityoudao:~ wxy$ hugo version
Hugo Static Site Generator v0.54.0/extended darwin/amd64 BuildDate: unknown
升级Hugo:
ityoudao:~ wxy$ brew upgrade hugo
2、生成站点
使用 hugo new site 命令生成站点,其中 blog 是存放网站相关文件的目录:
ityoudao:~ wxy$ hugo new site blog
Congratulations! Your new Hugo site is created in /Users/wxy/blog.

Just a few more steps and you're ready to go:

1. Download a theme into the same-named folder.
   Choose a theme from https://themes.gohugo.io/, or
   create your own with the "hugo new theme <THEMENAME>" command.
2. Perhaps you want to add some content. You can add single files
   with "hugo new <SECTIONNAME>/<FILENAME>.<FORMAT>".
3. Start the built-in live server via "hugo server".

Visit https://gohugo.io/ for quickstart guide and full documentation.
查看生成的内容:
ityoudao:~ wxy$ cd blog
ityoudao:blog wxy$ ll -a
total 8
drwxr-xr-x   9 wxy  staff   288  5 11 21:43 ./
drwxr-xr-x+ 40 wxy  staff  1280  5 11 21:43 ../
drwxr-xr-x   3 wxy  staff    96  5 11 21:43 archetypes/
-rw-r--r--   1 wxy  staff    82  5 11 21:43 config.toml
drwxr-xr-x   2 wxy  staff    64  5 11 21:43 content/
drwxr-xr-x   2 wxy  staff    64  5 11 21:43 data/
drwxr-xr-x   2 wxy  staff    64  5 11 21:43 layouts/
drwxr-xr-x   2 wxy  staff    64  5 11 21:43 static/
drwxr-xr-x   2 wxy  staff    64  5 11 21:43 themes/
这些文件和目录的作用:
- config.toml:Hugo 的配置文件,
- archetypes:储存.md的模板文件,包括内容类型,在创建新内容时自动生成内容的配置;
- content:包括网站内容,HTML 或者 Markdown 格式;
- data:储存数据文件供模板调用;
- layouts:储存 .html 模板,决定内容如何呈现;
- static:储存图片,css,js,fonts等静态文件,生成页面时该目录下的文件会直接拷贝到 public 目录;
- themes:用于存放 Hugo 主题。
安装 Hugo 主题
可以在官方网站 Hugo Themes 挑选 Hugo 主题,选中心仪的主题之后,在主题介绍页面点击下载跳转到主题的 Github 主页,在网站根目录下使用 git clone 即可安装主题。这里使用的是作者 Zeuk 的 Zozo 主题:
ityoudao:blog wxy$ git clone https://github.com/imzeuk/hugo-theme-zozo themes/zozo
配置 Hugo
config.toml
config.toml 是网站的主要配置文件,包含一些基本配置和主题特有的配置,默认配置如下:
ityoudao:blog wxy$ cat config.toml
baseURL = "http://example.org/"
languageCode = "en-us"
title = "My New Hugo Site"
主题一般都有一个示例配置文件,在主题的 exampleSite 目录下,拷贝到网站根目录,然后根据主题的说明修改该配置文件:
ityoudao:blog wxy$ cp themes/zozo/exampleSite/config.toml .
ityoudao:blog wxy$ vi config.toml
baseURL = "https://www.ityoudao.cn/"
title = "运维有道"
theme = "zozo"
defaultContentLanguage = "zh"
languageCode = "zh-cn"
enableEmoji = true
enableRobotsTXT = true
...
baseURL:网站的首页链接;title:网站的标题;theme:选择使用 theme 目录下的哪个主题;- 其他配置参考主题的说明文件。
robots.txt
准备 robots.txt 文件,例如本站的 robots.txt:
ityoudao:blog wxy$ cat > layouts/robots.txt <<EOF
User-agent: *
Disallow: /posts/note-*

Sitemap: https://www.ityoudao.cn/sitemap.xml
EOF
- 这里允许搜索引擎的爬虫抓取除
https://www.ityoudao.cn/posts/note-*之外的所有链接(/posts/note-*保存站点日记,拒绝爬虫抓取); - 站点地图链接
https://www.ityoudao.cn/sitemap.xml。
添加备案信息
备案信息在主题的 footer.html 文件中添加,这里是 themes/zozo/layouts/partials/footer.html:
ityoudao:blog wxy$ vi themes/zozo/layouts/partials/footer.html
<footer class="footer">
  <div class="powered_by">
    <a href="http://www.miitbeian.gov.cn/">京ICP备15061219号-2</a>
    <br>
    <a href="https://zeuk.me">Designed by Zeuk,</a>
    <a href="http://www.gohugo.io/">Proudly published with Hugo</a>
  </div>

  <div class="footer_slogan">
    <span>{{ .Site.Params.footerSlogan }}</span>
  </div>
</footer>
创建文章
使用 hugo new 命令创建文章:
ityoudao:blog wxy$ hugo new posts/hello.md
/Users/wxy/我的文档/blog/content/posts/hello.md created
此命令会在 content/posts/ 目录下创建 hello.md文件。创建的文件是根据 archetypes/default.md 文件生成的,包含一些页面的特定配置,比如标题、分类等,不同的主题还有自己支持的一些配置,默认配置如下:
ityoudao:blog wxy$ cat archetypes/default.md
---
title: "{{ replace .Name "-" " " | title }}"
date: {{ .Date }}
draft: true
---
draft: true时,创建的文章hello.md是草稿,Hugo 默认不会将草稿生成静态页面,必须将hello.md文章中的draft: true修改为draft: false;- 可以直接修改
archetypes/default.md配置文件,设置draft: false,关闭草稿功能。
下一步是使用 Markdown 语法编辑 hello.md,随便使用什么编辑器都可以,比如 Sublime Text 3 或者 vi。
运行 Hugo
文章编辑完成之后,在网站的根目录下运行 hugo 命令生成静态页面:
ityoudao:blog wxy$ hugo

                   | ZH-CN
+------------------+-------+
  Pages            |    65
  Paginator pages  |     1
  Non-page files   |     0
  Static files     |    40
  Processed images |     0
  Aliases          |     1
  Sitemaps         |     1
  Cleaned          |     0

Total in 887 ms
注意事项:
- 文章的 Taxonomies 中包含
draft: true不会在public目录中生成静态页面; - tags、categories的 value 不能使用带“/”的名字,否则创建了子目录,比如
tags:“CI/CD”相当于mkdir -p public/tags/ci/cd/。
运行 hugo server
运行 hugo server命令会启动一个绑定127.0.0.1监听TCP/1313端口的 Web 服务器:
Watching for changes in /Users/wxy/blog/{content,data,layouts,static,themes}
Watching for config changes in /Users/wxy/blog/config.toml
Environment: "development"
Serving pages from memory
Running in Fast Render Mode. For full rebuilds on change: hugo server --disableFastRender
Web Server is available at http://localhost:1313/ (bind address 127.0.0.1)
Press Ctrl+C to stop
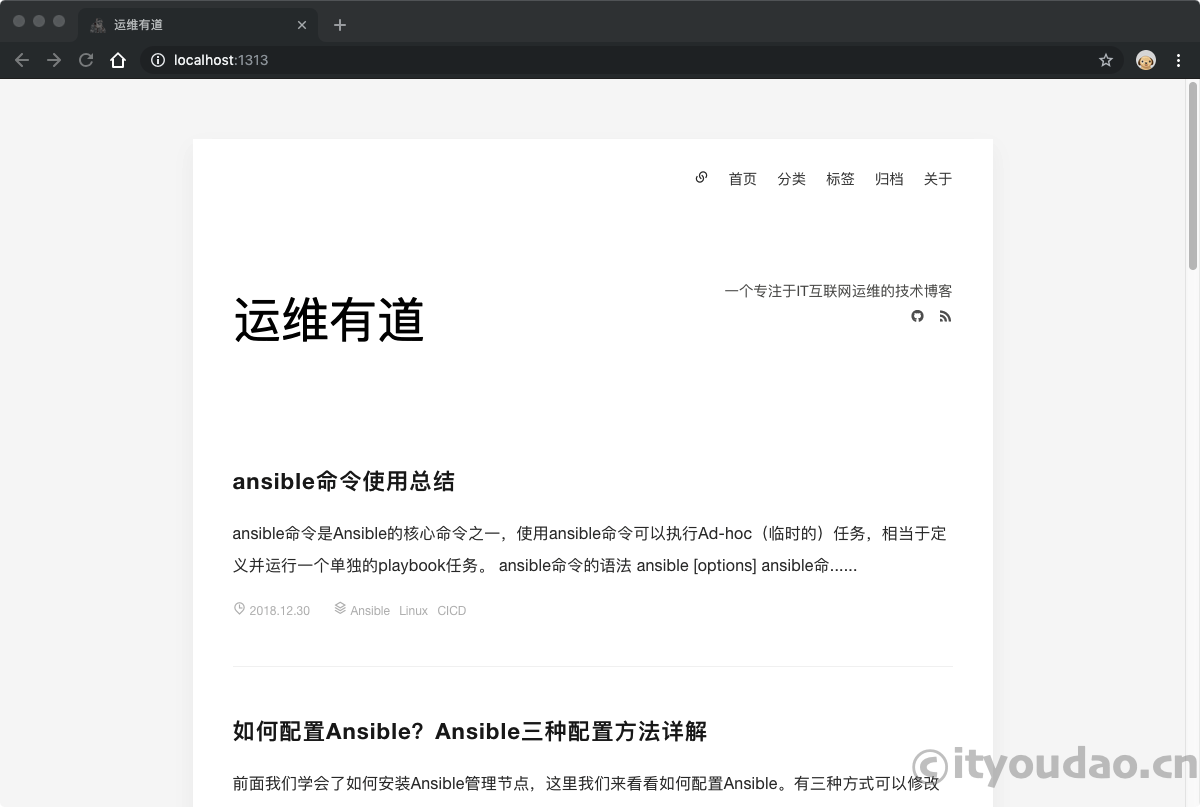
浏览器访问http://localhost:1313即可查看生成的网站:
至此,Hugo 生成了一个完整的 HTML 静态网站,文件存放在网站根目录下的 public 目录中,下一步可以使用 Github Pages,也可以自己部署 Web 服务器发布网站。
这里使用自己的服务器,使用 git 将 public 目录同步到阿里云 ECS 服务器,然后部署 Nginx 对外提供服务。继续阅读: